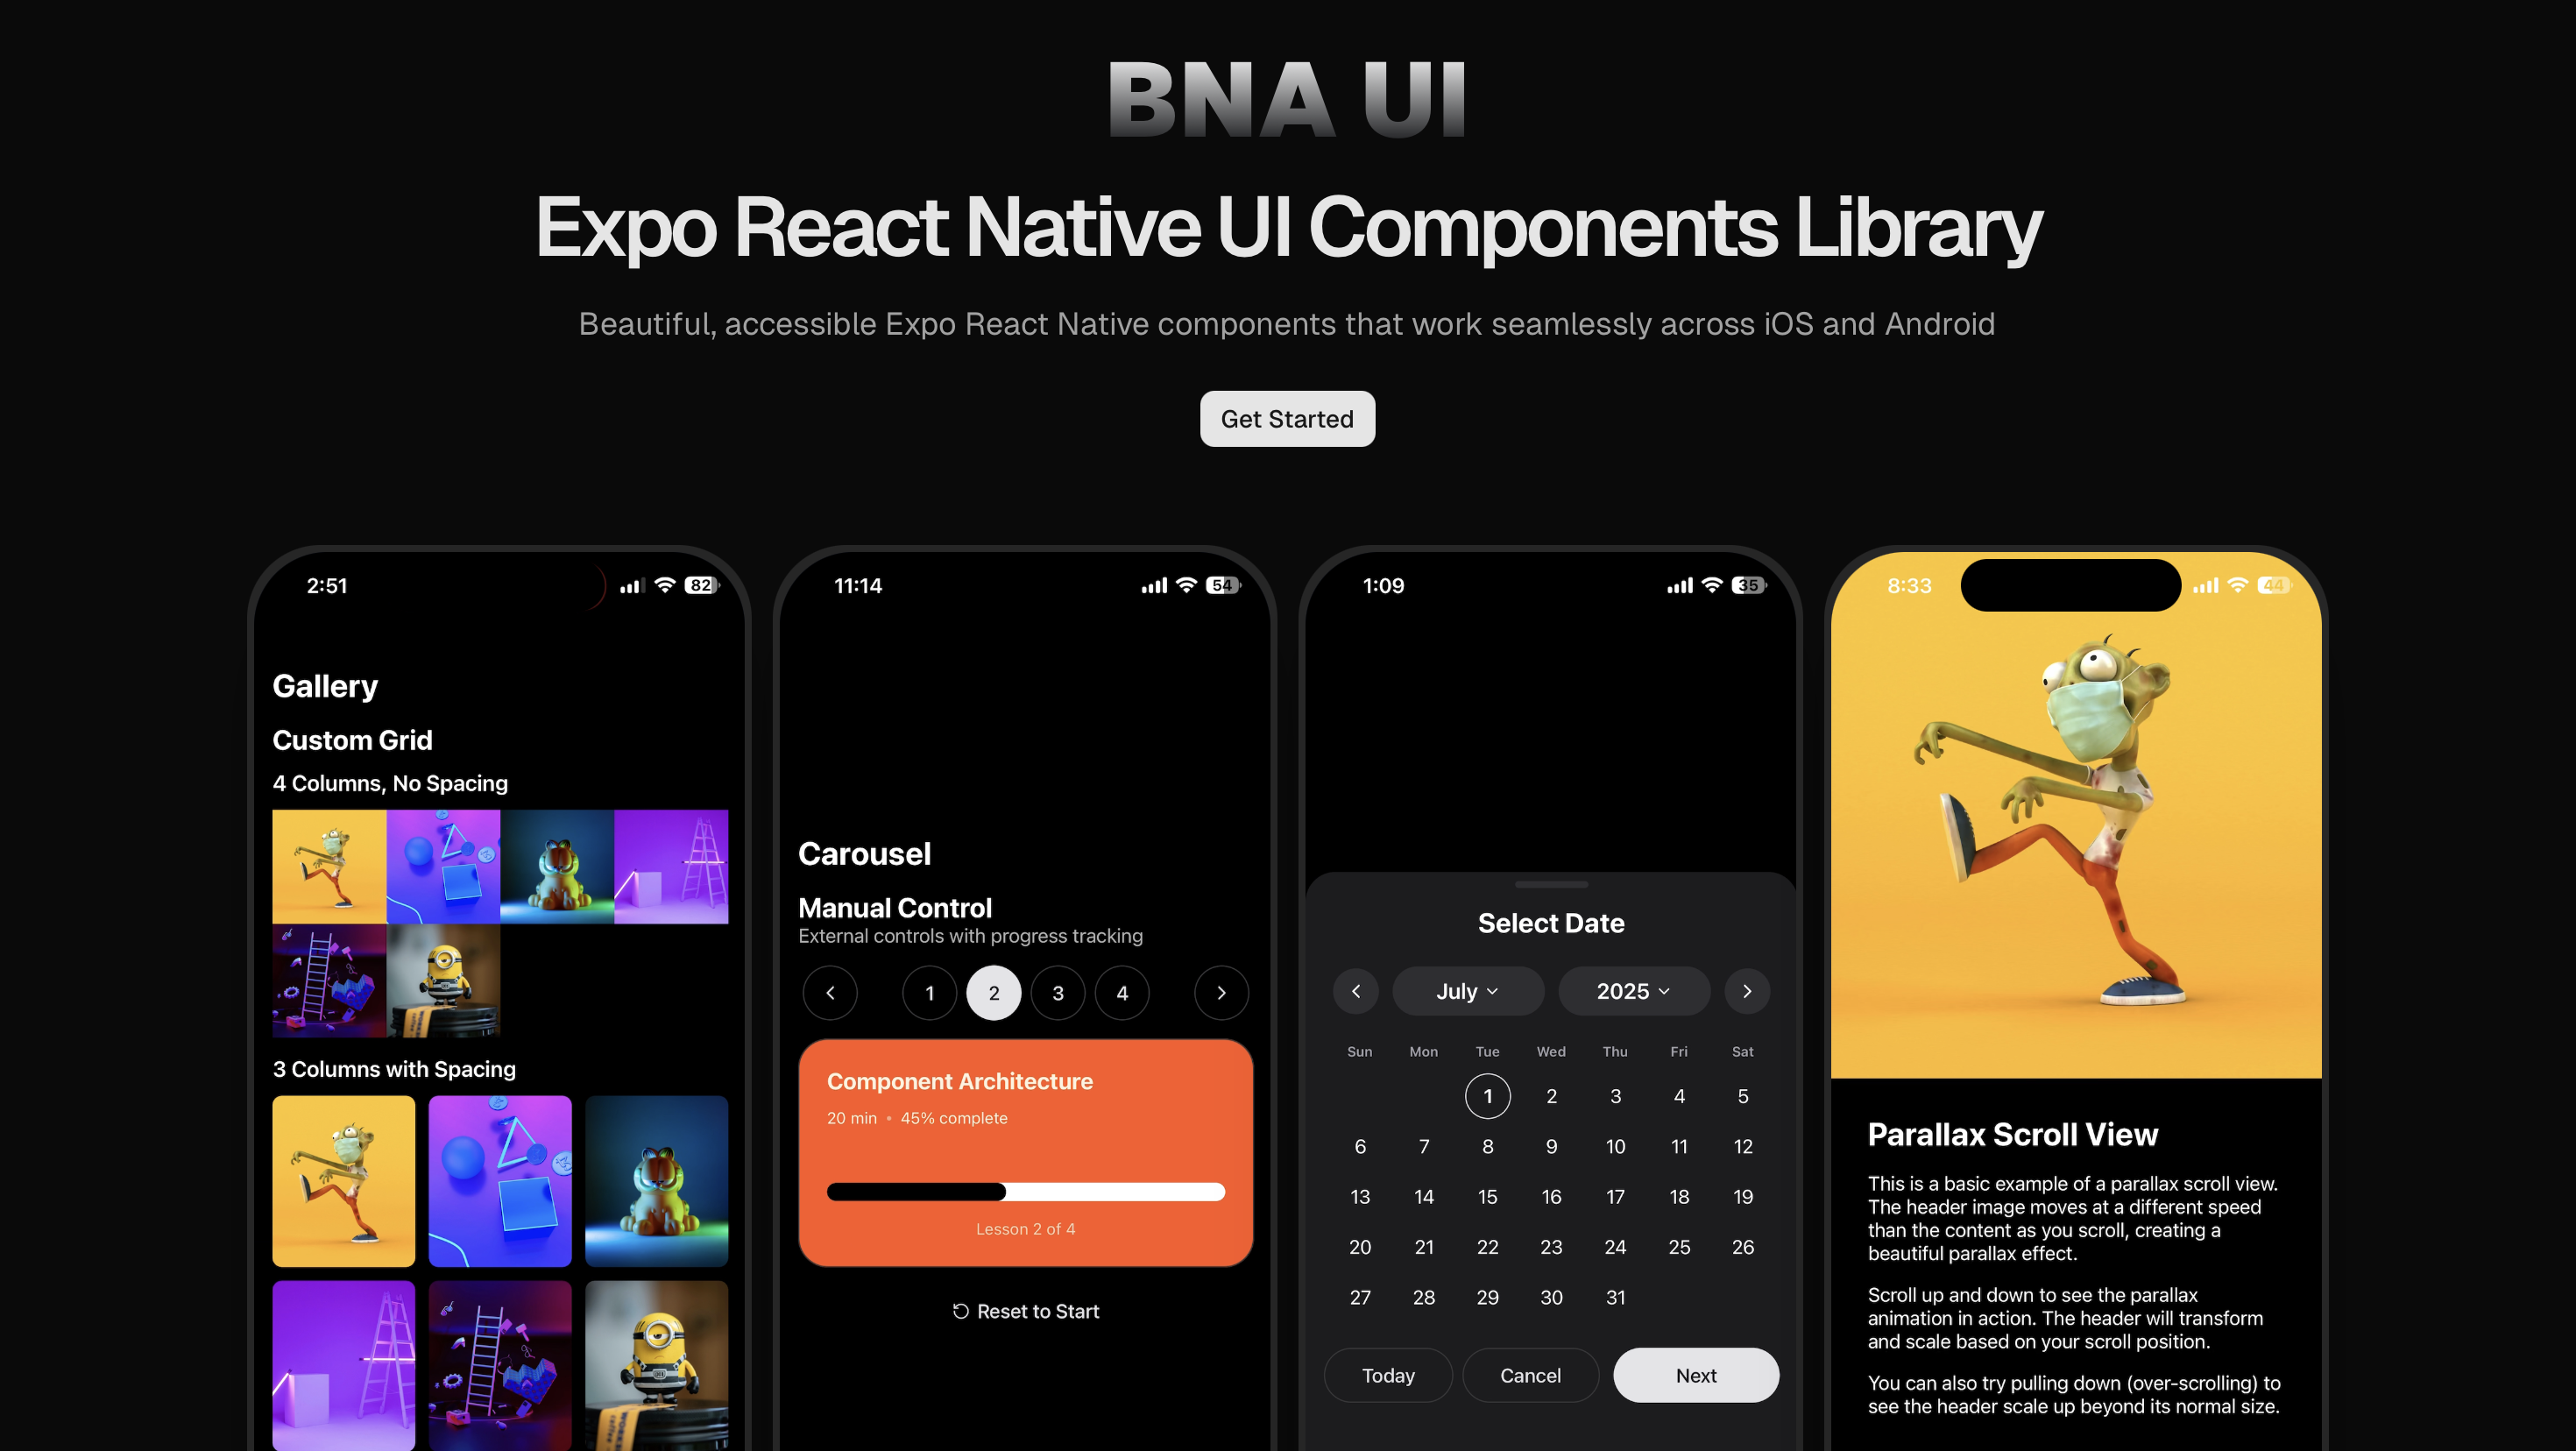
Build Native Apps - A powerful CLI for creating Expo React Native applications with a beautiful UI component library.
- 🎨 Beautiful UI Components - Pre-built, customizable components with modern design
- 🌙 Theme Support - Built-in light/dark mode with seamless transitions
- 📱 Expo Router Ready - Complete navigation setup with tab and stack navigation
- 🎯 TypeScript First - Full TypeScript support with excellent IntelliSense
- 📦 Flexible Package Manager - Works with npm, yarn, or pnpm
- 🚀 Zero Configuration - Get started in seconds with sensible defaults
- 🔧 Highly Customizable - Easily customize colors, spacing, and components
- 📲 Cross-Platform - Perfect compatibility across iOS and Android
- ⚡ Performance Optimized - Lightweight and fast components
- 🎭 Animation Ready - Smooth animations with React Native Reanimated
# Scaffold a new Expo app
npx bna-ui init my-app
cd my-app

# Add components — dependencies come along automatically
npx bna-ui add button
npx bna-ui add card input

# Or browse everything interactively
npx bna-ui add
Already have an Expo project? Skip init and run add inside it.
| Command | What it does |
|---|---|
bna-ui init [name] |
Scaffold a new Expo app with routing, theming and a tab layout |
bna-ui convex [name] |
Same, plus a Convex backend with auth and OTP email flows |
bna-ui add [...names] |
Add components, with their hooks, theme files and npm deps |
Useful flags for add: --overwrite, --dry-run, --yes,
--npm / --yarn / --pnpm / --bun, and --registry <url>.
Components are fetched from https://ui.ahmedbna.com/r and cached under
~/.cache/bna-ui, so repeat installs work offline.
import React from 'react';
import { Button } from '@/components/ui/button';
import { Card } from '@/components/ui/card';
import { Input } from '@/components/ui/input';
import { View } from '@/components/ui/view';

export default function HomeScreen() {
  return (
    <View style={{ flex: 1, padding: 20 }}>
      <Card>
        <Input placeholder='Enter your email' keyboardType='email-address' />
        <Button
          variant='success'
          onPress={() => console.log('Button pressed!')}
        >
          Get Started
        </Button>
      </Card>
    </View>
  );
}Components read colours through the useColor hook, so light and dark work
without any per-component wiring:
import { useColor } from '@/hooks/useColor';

const background = useColor('background');
const primary = useColor('primary');
The tokens live in theme/colors.ts, which lands in your project when you add
your first component:
// theme/colors.ts
export const Colors = {
  light: {
    background: '#FFFFFF',
    foreground: '#000000',
    card: '#F2F2F7',
    primary: '#007AFF',
    // ... more tokens
  },
  dark: {
    background: '#000000',
    foreground: '#FFFFFF',
    card: '#1C1C1E',
    // ... more tokens
  },
};
Edit that file and every component follows — it's your code now.
- ✅ iOS - Full native iOS support
- ✅ Android - Full native Android support
- ✅ Web - Responsive web support
- ✅ Expo Go - Development with Expo Go
- ✅ EAS Build - Production builds with EAS
This is a pnpm + Turborepo monorepo.
| Path | Package | What it is |
|---|---|---|
packages/registry |
@bna-ui/registry |
Source of truth for every component, hook, theme, demo |
packages/cli |
bna-ui |
The published CLI |
packages/starters |
@bna-ui/starters |
init and convex scaffolds |
apps/docs |
— | Docs site, and the registry at /r/*.json |
apps/playground |
— | Expo app for developing components |
There is exactly one copy of every component:
packages/registry/src/components/ui/button.tsx is what the playground renders,
what the docs site displays, and what bna-ui add button installs.
Requires Node 20+ and pnpm 10+.
git clone https://github.com/ahmedbna/ui.git bna-ui
cd bna-ui

pnpm install
pnpm build          # every package, in dependency order
pnpm dev            # docs + playground
pnpm test
Working on a component:
pnpm --filter playground ios # or android / webEdit packages/registry/src/components/ui/<name>.tsx and the playground hot
reloads.
Testing the CLI against unreleased components:
pnpm --filter docs dev
cd /tmp && node ~/bna-ui/packages/cli/bin/bna-ui.js init app && cd app
node ~/bna-ui/packages/cli/bin/bna-ui.js add button --registry http://localhost:3000/rWe welcome contributions! See CONTRIBUTING.md for the full workflow, and CODE_OF_CONDUCT.md.
- Fork the repository
- Create your feature branch (
git checkout -b feat/amazing-feature) - Commit your changes (
git commit -m 'feat: add amazing feature') - Push to the branch (
git push origin feat/amazing-feature) - Open a Pull Request
Found a vulnerability? Please report it privately — see SECURITY.md.
MIT — see LICENSE.
- 📚 Documentation: https://ui.ahmedbna.com
- 🐛 Bug Reports: GitHub Issues
- 💬 Linkedin: @ahmedbna
- 𝕏 : @ahmedbnaa
If you find BNA UI helpful, please consider giving it a star on GitHub! It helps us a lot.




Made with ❤️ by Ahmed BNA