I stage1 we are going to setup everything in different server and the diagram looks like..
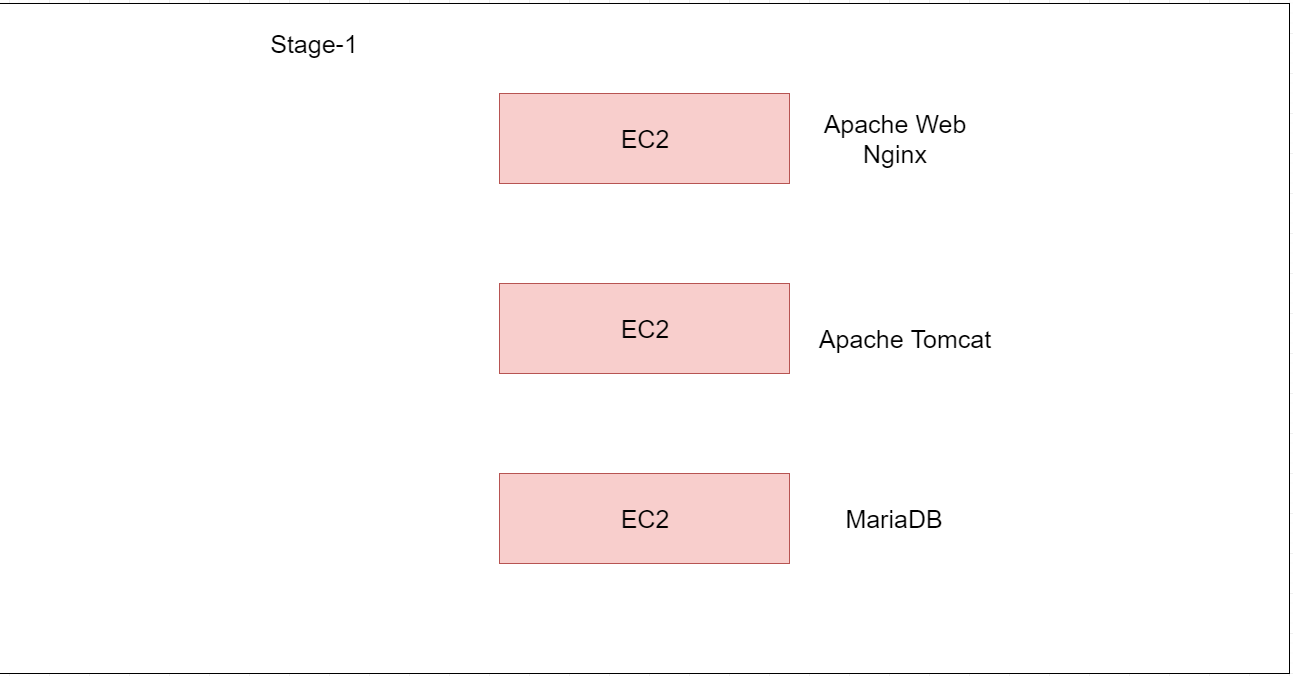
In the following setup we are going to take three different servers and we are going to setup each component on one server and understand the connectivity and application setup.
Choose one server and login to it and execute the following commands.
$ sudo yum install mariadb-server -y
$ sudo systemctl enable mariadb
$ sudo systemctl start mariadb
If DB Installation is successful and you can go for loading schema
$ curl -s https://raw.githubusercontent.com/citb33/project-documentation/master/student-application.sql >/tmp/student-application.sql
$ sudo mysql < /tmp/student-application.sql
Choose one server for application setup and login to it and execute the following commands.
Usually in real setups we do run appliation with a dedicated app user. So on the same part you do require to create a dedicated user for our application.
$ sudo yum install java -y
$ sudo useradd student
Now you can setup the application inside application user.
$ sudo su - student
$ wget -O- http://mirrors.wuchna.com/apachemirror/tomcat/tomcat-9/v9.0.13/bin/apache-tomcat-9.0.13.tar.gz | tar -xz
$ cd apache-tomcat-9.0.13
$ rm -rf webapps/*
$ wget https://github.com/citb33/project-documentation/raw/master/studentapp.war -O webapps/studentapp.war
You need to add the following content in /home/student/apache-tomcat-9.0.13/conf/context.xml just before the last line.
<Resource name="jdbc/TestDB" auth="Container" type="javax.sql.DataSource"
               maxActive="100" maxIdle="30" maxWait="10000"
               username="student" password="student@1" driverClassName="com.mysql.jdbc.Driver"
               url="jdbc:mysql://172.31.35.169:3306/studentapp"/>
You just now setup your application inside server and in order to access it from browser you need to start the service.
$ /home/student/apache-tomcat-9.0.13/bin/startup.sh
To start the tomcat automatically during reboot then run these as centos user
$ sudo wget https://raw.githubusercontent.com/citb33/project-documentation/master/tomcat-init-script -O /etc/init.d/tomcat
$ sudo chmod +x /etc/init.d/tomcat
$ sudo systemctl enable tomcat
$ sudo systemctl start tomcat
Choose one server for web service setup and login to it and execute the following commands.
$ sudo yum install httpd -y
$ sudo systemctl enable httpd
Create the following files with the content shown.
# cat /var/www/html/index.html
<h1 style="text-align: center;"><span style="color: #ff0000;">Welcome to Student Application on AWS.</span></h1>
<p><img style="display: block; margin-left: auto; margin-right: auto;" src="https://cdn-images-1.medium.com/max/2000/1*tFl-8wQUENETYLjX5mYWuA.png" alt="" width="1200" height="630" /></p>
<p> </p>
<h2 style="text-align: center;"><a href="studentapp"><strong>Enter to Student Application</strong></a></h2>
<p> </p>
<p> </p>
# cat /etc/httpd/conf.d/tomcat.conf
ProxyPass "/studentapp"  "http://172.31.33.148:8080/studentapp"
ProxyPassReverse "/studentapp"  "http://172.31.33.148:8080/studentapp"
# systemctl start httpd
# systemctl enable httpd