You will take a baseline installation of a Linux server and prepare it to host your web applications. You will secure your server from a number of attack vectors, install and configure a database server, and deploy one of your existing web applications onto it.
A deep understanding of exactly what your web applications are doing, how they are hosted, and the interactions between multiple systems are what define you as a Full Stack Web Developer. In this project, you’ll be responsible for turning a brand-new, bare bones, Linux server into the secure and efficient web application host your applications need.
You will learn how to access, secure, and perform the initial configuration of a bare-bones Linux server. You will then learn how to install and configure a web and database server and actually host a web application.
- Deploying your web applications to a publicly accessible server is the first step in getting users
- Properly securing your application ensures your application remains stable and that your user’s data is safe
This project is linked to the Configuring Linux Web Servers course, which teaches you to secure and set up a Linux server. By the end of this project, you will have one of your web applications running live on a secure web server.
To complete this project, you'll need a Linux server instance. We recommend using Amazon Lightsail for this. If you don't already have an Amazon Web Services account, you'll need to set one up. Once you've done that, here are the steps to complete this project.
- Start a new Ubuntu Linux server instance on Amazon Lightsail. There are full details on setting up your Lightsail instance on the next page.
- Follow the instructions provided to SSH into your server.
- Update all currently installed packages.
- Change the SSH port from 22 to 2200. Make sure to configure the Lightsail firewall to allow it.
- Configure the Uncomplicated Firewall (UFW) to only allow incoming connections for SSH (port 2200), HTTP (port 80), and NTP (port 123).
Warning: When changing the SSH port, make sure that the firewall is open for port 2200 first, so that you don't lock yourself out of the server. Review this video for details! When you change the SSH port, the Lightsail instance will no longer be accessible through the web app 'Connect using SSH' button. The button assumes the default port is being used. There are instructions on the same page for connecting from your terminal to the instance. Connect using those instructions and then follow the rest of the steps.
In order for your project to be reviewed, the grader needs to be able to log in to your server.
- Create a new user account named
grader. - Give
graderthe permission tosudo. - Create an SSH key pair for
graderusing thessh-keygentool.
- Configure the local timezone to UTC.
- Install and configure Apache to serve a Python mod_wsgi application.
- If you built your project with Python 3, you will need to install the Python 3 mod_wsgi package on your server:
sudo apt-get install libapache2-mod-wsgi-py3.
- Install and configure PostgreSQL:
- Do not allow remote connections
- Create a new database user named
catalogthat has limited permissions to your catalog application database.
- Install
git.
- Clone and setup your Item Catalog project from the Github repository you created earlier in this Nanodegree program.
- Set it up in your server so that it functions correctly when visiting your server’s IP address in a browser. Make sure that your
.gitdirectory is not publicly accessible via a browser!
We're recommending Amazon Lightsail for this project. If you prefer, you can use any other service that gives you a publicly accessible Ubuntu Linux server. But Lightsail works pretty well and it's what we've tested.
There are a few things you need to do when you create your server instance.
First, log in to Lightsail. If you don't already have an Amazon Web Services account, you'll be prompted to create one.
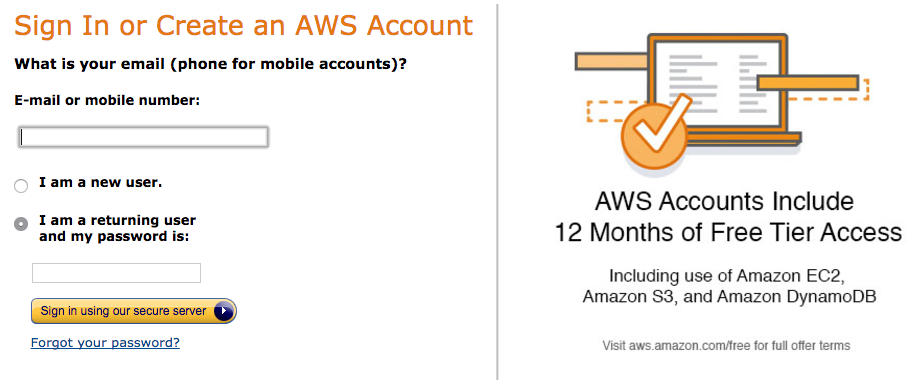
Amazon Web Services login page.
Once you're logged in, Lightsail will give you a friendly message with a robot on it, prompting you to create an instance. A Lightsail instance is a Linux server running on a virtual machine inside an Amazon datacenter.
When you have no instances, Lightsail gives you a picture of an orange robot and suggests that you create an instance.
Lightsail supports a lot of different instance types. An instance image is a particular software setup, including an operating system and optionally built-in applications.
For this project, you'll want a plain Ubuntu Linux image. There are two settings to make here. First, choose "OS Only" (rather than "Apps + OS"). Second, choose Ubuntu as the operating system.

When you create an instance, Lightsail asks what kind you want. For this project, choose an "OS Only" instance with Ubuntu.
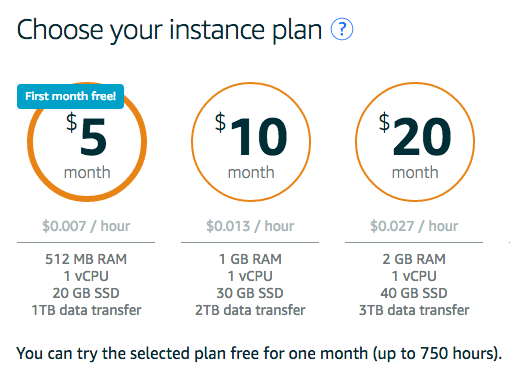
The instance plan controls how powerful of a server you get. It also controls how much money they want to charge you. For this project, the lowest tier of instance is just fine. And as long as you complete the project within a month and shut your instance down, the price will be zero.
Every instance needs a unique hostname. You can use any name you like, as long as it doesn't have spaces or unusual characters in it. Your instance's name will be visible to you and to the project reviewer.
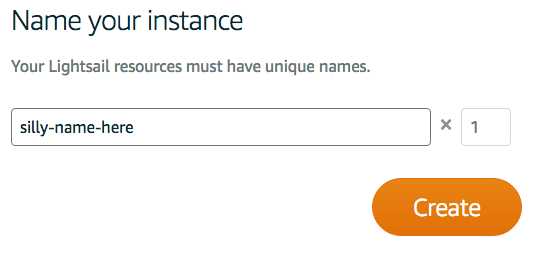
I've named my instance silly-name-here.
It may take a few minutes for your instance to start up.
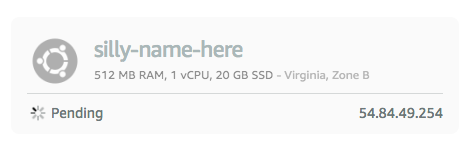
While your instance is starting up, Lightsail shows you a grayed-out display.
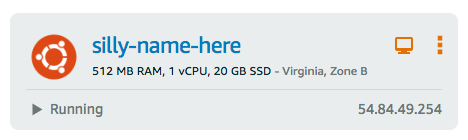
Once your instance is running, the display gets brighter.
Once your instance has started up, you can log into it with SSH from your browser.
The public IP address of the instance is displayed along with its name. In the above picture it's 54.84.49.254. The DNS name of this instance is ec2-54-84-49-254.compute-1.amazonaws.com.
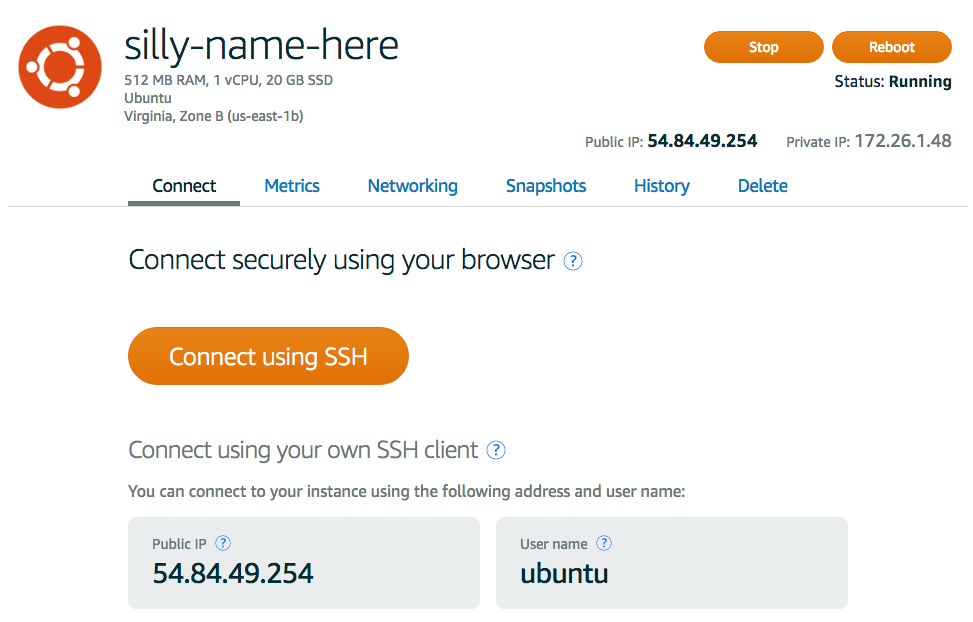
The main page for my silly-name-here instance. The big orange "Connect using SSH" button is the next step.
Explore the other tabs of this user interface to find the Lightsail firewall and other settings. You'll need to configure the Lightsail firewall as one step of the project.
When you SSH in, you'll be logged as the ubuntu user. When you want to execute commands as root, you'll need to use the sudo command to do it. Review sudo here if you need a refresher!
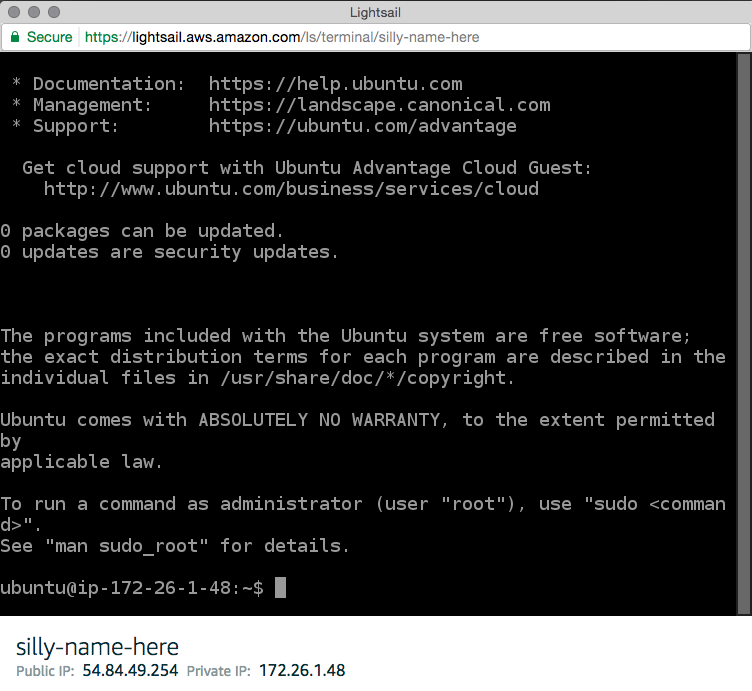
Now that you have a working instance, you can get right into the project.
Need some additional help getting started with the Linux Server Configuration Project, or simply curious and want to learn a little bit more? Watch the following Webcasts!
These webcasts are recordings of live Q&A sessions and demos. As always, you should read the appropriate rubric for your project thoroughly before you begin work on any project and double check the rubric before submitting. The videos were made by Udacity's coaches. Think of them as extra supplemental materials.
Happy Learning!
You will take a baseline installation of a Linux distribution on a virtual machine and prepare it to host your web applications, to include installing updates, securing it from a number of attack vectors and installing/configuring web and database servers.
Note: If you have no experience working in the shell we recommend starting with Linux Command Line Basics. Otherwise, you can jump straight into Configuring Linux Web Servers.
Your project will be evaluated by a Udacity Code Reviewer according to the rubric below. Be sure to review it thoroughly before you submit. All criteria must "meet specifications" in order to pass.
Please follow these steps to properly submit this project:
- Create a new GitHub repository and add a file named
README.md. - Your README.md file should include all of the following:
- The IP address and SSH port so your server can be accessed by the reviewer.
- The complete URL to your hosted web application.
- A summary of software you installed and configuration changes made.
- A list of any third-party resources you made use of to complete this project.
- Locate the SSH key you created for the
graderuser. - During the submission process, paste the contents of the
graderuser's SSH key into the "Notes to Reviewer" field.
When you're ready to submit your project, click here and follow the instructions. Due to the high volume of submissions we receive, please allow up up to 7 business days for your evaluation to be returned.
If you are having any problems submitting your project or wish to check up on the status of your evaluation, please email us at fullstack-project@udacity.com.
You will get an email as soon as your reviewer has feedback for you. Congratulations on making it this far in the Nanodegree! You're almost finished!